





For the last decade, VS Code has been the undisputed king of code editors. It killed Atom, it sidelined Sublime Text, and it became the default for 90% of web developers. But in 2026, that reign is officially over.
The workflow of software development has fundamentally shifted. We are no longer just typing syntax; we are curating logic. The bottleneck is no longer how fast you can type console.log; it is how fast you can translate an idea into a deployed feature.
Enter Cursor.
Cursor is not just a plugin. It is not a "wrapper" for ChatGPT. It is a hard fork of VS Code that includes a built-in AI pair programmer that actually knows your entire project. It indexes your file system, understands your component architecture, and allows you to "vibe code"—building complex software by managing the AI rather than writing every semicolon yourself.
If you are still copying and pasting code from a browser window into VS Code, you are working in the past. This comprehensive guide will cover everything from the 60-second migration process to the advanced .cursorrules configurations that will make you code 10x faster.
Part 1: What Actually Is Cursor? (The Technical Breakdown)
To understand why the Cursor IDE is winning, you have to understand what it is. It isn't just a text editor; it's a complete intelligent development environment available for Cursor AI download on Mac, Windows, and Linux.
The "Fork" Advantage
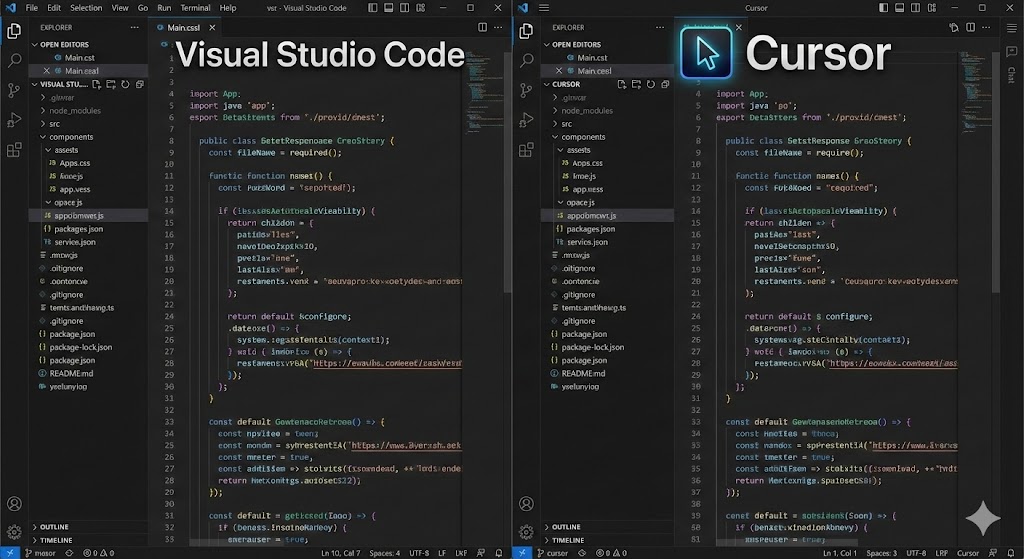
Cursor is a fork of VS Code. This is critical. It means that under the hood, it is still the same Microsoft-built engine you trust.
As you can see below, the visual difference is minimal, making the switch incredibly easy.
- Extensions: All your VS Code extensions (ESLint, Prettier, GitLens, Docker) work natively.
- Keybindings: Your muscle memory remains intact.
Cmd + Pstill opens files.Cmd + Shift + Fstill searches globally. - Themes: Your Dracula, Monokai, or Material themes import perfectly.
The "Context" Engine
The failing of tools like GitHub Copilot (the standard extension version) is that they are "context-blind." They see the file you are open in, and maybe the tab next to it, but they don't understand the system.
Cursor solves this with local embeddings. When you open a project, Cursor scans your codebase and creates a local vector index. When you ask a question like, "Where is the auth logic for the user dashboard?", it doesn't just guess; it performs a semantic search on your local index to find the relevant files (/lib/auth.ts, /components/dashboard/user.tsx) and feeds those specifically to the LLM.
This is why Cursor feels like it "knows" your code, while ChatGPT feels like a stranger guessing.
Part 2: The Migration (It Takes 60 Seconds)
The biggest lie developers tell themselves is, "I'm too busy to switch editors right now." The friction to switch to Cursor is functionally zero.
Step 1: Download and Import
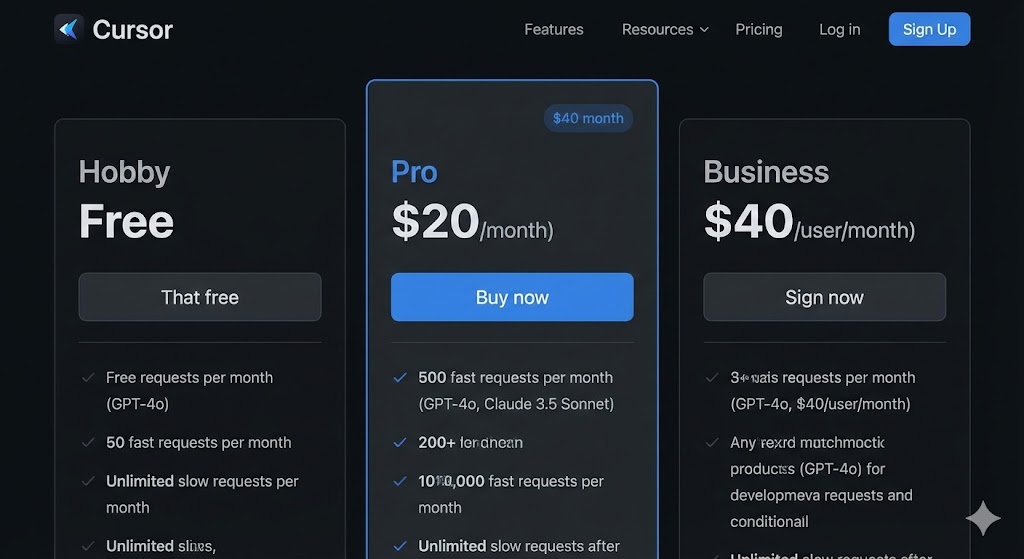
Account Setup: After installation, you’ll be prompted for your Cursor login. You can sign in with GitHub or Google. This syncs your subscription and "Fast Request" usage across devices.
Go to cursor.com/download. Upon installation, the onboarding wizard will ask one crucial question:
"Import Extensions, Themes, and Settings from VS Code?"
Click Yes. Do not skip this.
Because Cursor shares the same directory architecture as VS Code (~/.vscode), it can pull your entire environment instantly. You will launch into an editor that looks exactly like the one you just closed.
Step 2: The Command Line Trick
You are likely used to opening your terminal and typing code . to open the current directory. You need to remap this muscle memory.
- Open the Command Palette (
Cmd + Shift + PorCtrl + Shift + P). - Type "Install 'cursor' command".
- Select Shell Command: Install 'cursor' command in PATH.
Now, typing cursor . opens your project.
Step 3: Clean Up Conflicts
If you were previously using the GitHub Copilot extension, disable it. Running Cursor's native AI alongside the Copilot extension causes UI clutter and "fight for the tab key" issues. Cursor's native autocomplete is faster and smarter; you won't miss Copilot.
Part 3: The 3 Features That Matter (The "Vibe Coder" Toolkit)
Most users install Cursor, use the chat sidebar, and think, "Okay, it's a chatbot." They are missing 80% of the value. To justify the subscription, you must master three specific workflows.
1. Tab (Copilot++)
This is the background intelligence. Unlike standard autocomplete which suggests the next word, Cursor's "Tab" suggests the next logic.
- The Prediction: If you delete a parameter in a function definition, Cursor will often anticipate that you need to delete that argument in every function call across the file.
- The Workflow: You will see "ghost text" appear in grey. Press
Tabto accept it. - Pro Tip: If the suggestion is partially correct, hold
Option(Mac) orAlt(Windows) while pressing right-arrow to accept it word-by-word.
2. Cmd+K (Inline Edit)
This is for flow state. You never want to leave your code to talk to a bot.
- How it works: Highlight a block of code (or place your cursor on a blank line) and press
Cmd + K. - The Prompt: Type a natural language command.
- Example: "Refactor this
useEffectto use React Query." - Example: "Add a try/catch block that logs errors to Sentry."
- Example: "Refactor this
- The Diff: Cursor doesn't just overwrite your code. It shows a "Diff View" (Green lines for additions, Red lines for deletions). You can review the logic and hit
Cmd + Enterto accept.
3. Composer (The "God Mode")
This is the "killer app" of 2026. Composer (accessed via Cmd + I) allows the AI to act as an agent across multiple files simultaneously.
The Scenario: You want to add a "Subscribe" feature.
The Old Way: Create Subscribe.tsx, copy boilerplate. Go to layout.tsx, import it. Go to api/subscribe/route.ts, write the backend.
The Composer Way:
Open Composer (Cmd + I) and type:
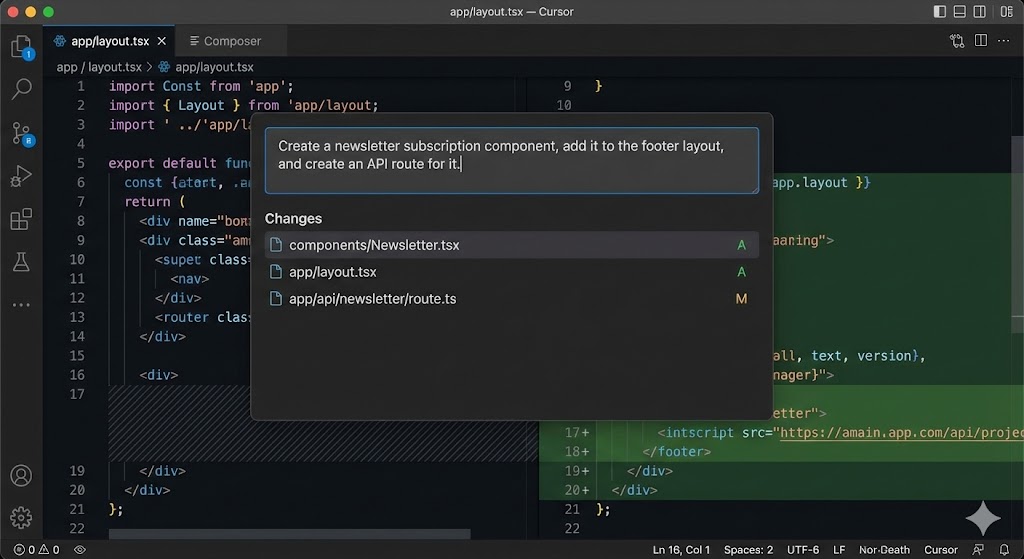
"Create a newsletter subscription component using Shadcn/UI input. Add it to the footer in layout.tsx. Create a Next.js API route at /api/newsletter that validates the email using Zod."
Composer will:
- Create the new component file.
- Edit the existing layout file to insert the component.
- Create the API route file.
- Present all changes in a list. You click "Accept All," and the feature is done.
Below is an image showing the Composer workflow in action, making changes across three files based on a single prompt.
Part 4: Mastering Context (.cursorrules)
If you take nothing else from this guide, remember this: AI is only as good as its instructions.
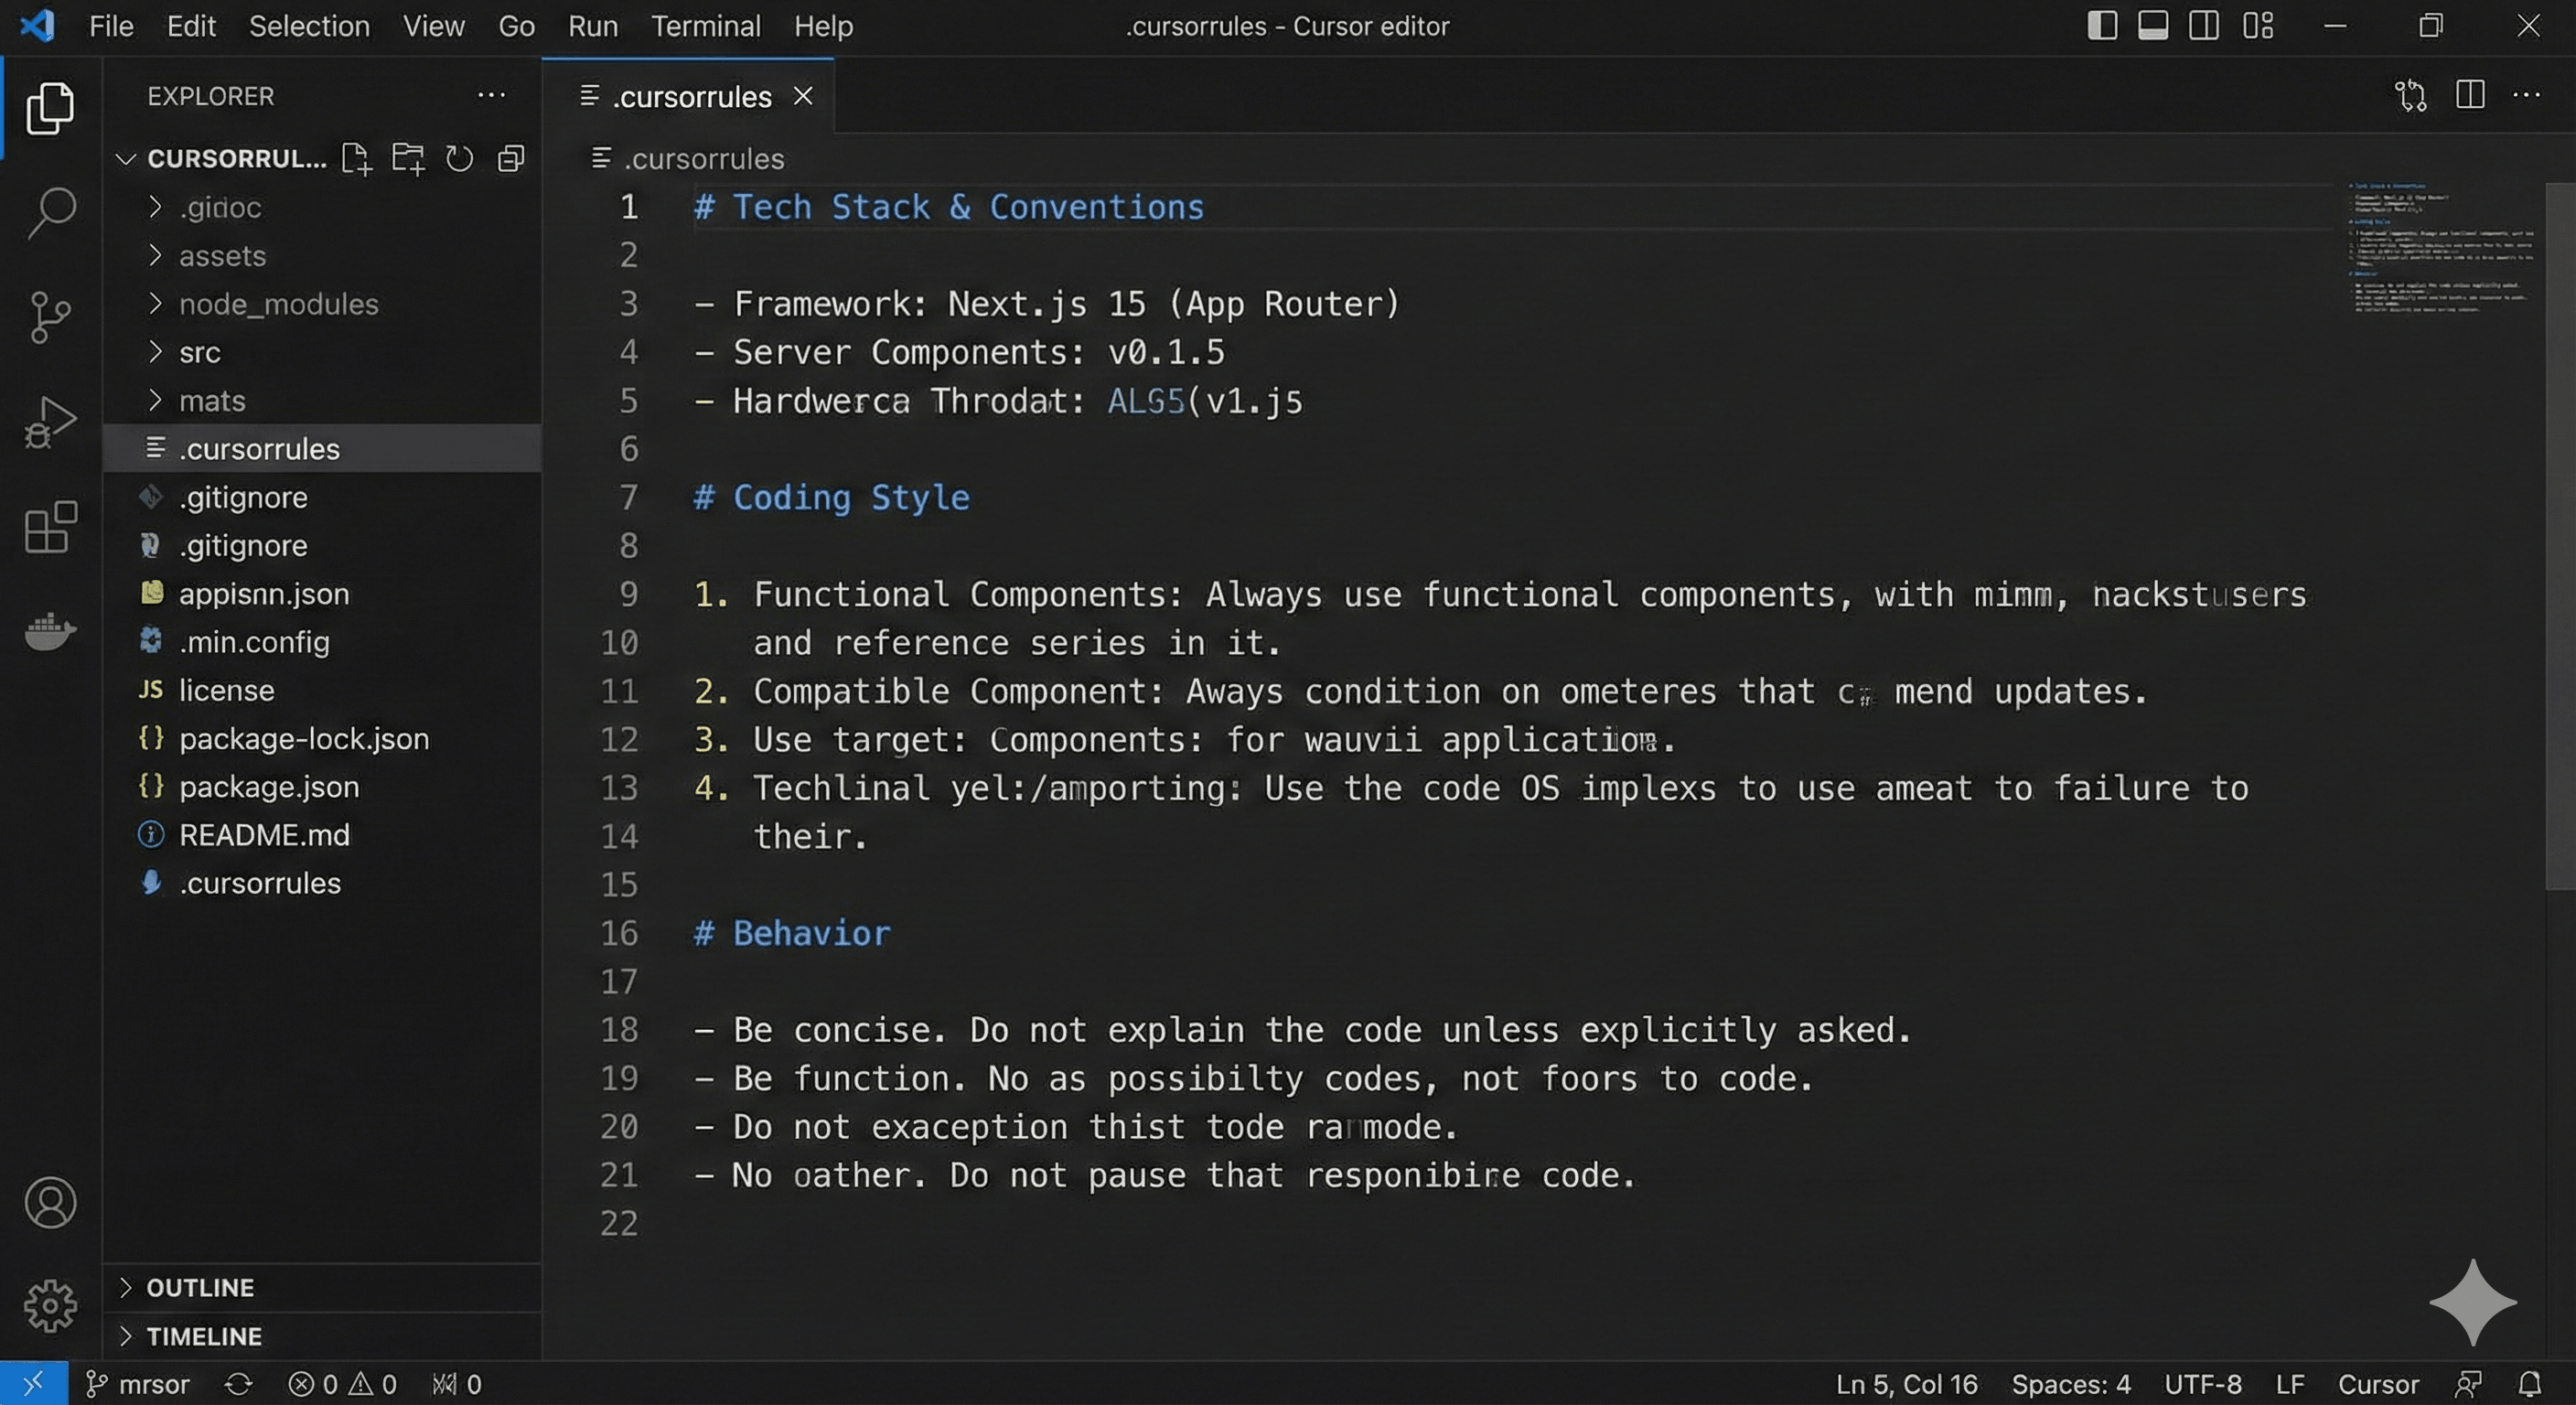
If you ask Cursor to "make a button," it might give you a standard HTML button. But you want a Tailwind button. Or a Material UI button. You can fix this by creating a .cursorrules file.
What is .cursorrules?
This is a hidden file you place in the root directory of your project. It acts as a "System Prompt" that gets appended to every single request you make to the AI. It is how you "train" Cursor on your specific preferences without fine-tuning a model.