
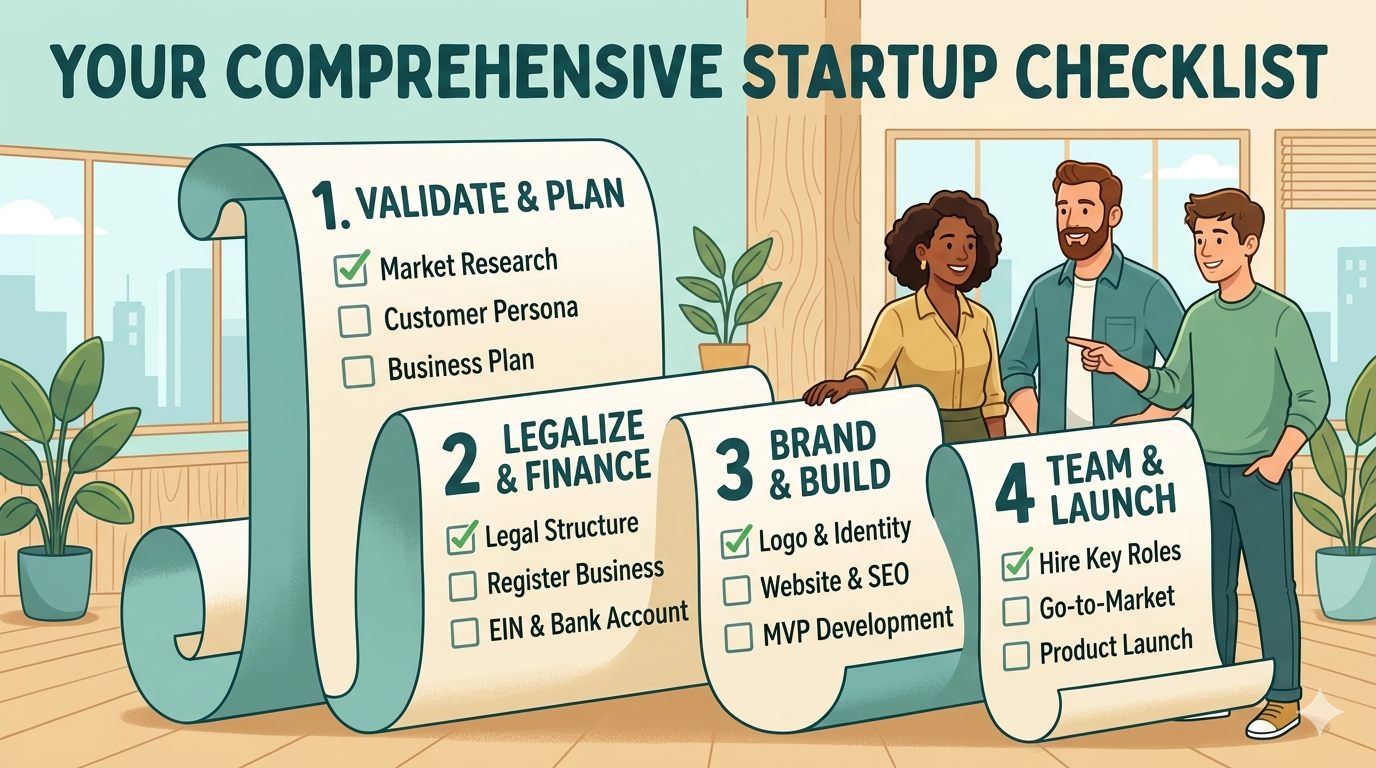
Turning a great idea into a real product is a journey filled with assumptions. The most successful founders don't just build; they test, learn, and validate every step of the way. Building a product nobody wants is the single biggest reason startups fail. This checklist is your framework for mitigating that risk.
It will guide you through the essential stages, from confirming your idea solves a real-world problem to building a testable prototype—all before you write a single line of production code.
Phase 1: Problem & Idea Validation (The "Why")
This phase is about becoming an expert on the problem, not your solution. Your goal is to find evidence that a specific group of people has a "hair-on-fire" problem—a pain point so urgent they are actively trying to solve it. You must seek truth, not confirmation of your own biases.
- Identify the Core Problem: Articulate the specific pain point you are solving in one or two sentences. For example, instead of "a better task manager," specify: "Freelance designers struggle to consolidate client feedback from multiple channels, leading to missed revisions and scope creep."
- Define Your Target Audience: Create a detailed persona of your ideal early adopter. Who are they? Where do they spend their time? What are their frustrations and goals? For example: "Sarah, a 32-year-old freelance UX designer using Trello and email, frustrated by disorganized client communication."
- Conduct Pain Point Interviews: Perform 10-15 customer interviews. Using the principles from "The Mom Test," avoid pitching your idea. Instead, ask about their past experiences and current workflows to gather unbiased insights. Ask questions like, "Tell me about the last time you managed a complex project with a client," not "Would you use an app for this?" Tools like InsightReviews can help streamline this feedback collection process.
- Perform Initial Market Research: Analyze the market to understand its size (TAM, SAM, SOM), key trends, and growth potential. Is this a growing market, or is it a shrinking one? Is it large enough to support a viable business?
- Analyze Competitors & Alternatives: List direct competitors (e.g., Asana), indirect competitors (e.g., Slack), and existing workarounds (e.g., spreadsheets, email threads). Identify their weaknesses and the "white space" where your solution can offer a unique advantage.
- Document Your Riskiest Assumptions: Write down the 3-5 biggest beliefs that, if proven false, would destroy your business concept. Examples: "We assume freelancers will pay a $20/month subscription," or "We assume designers are willing to adopt a new tool instead of using email." These are what you must validate first.
Phase 2: Solution & Value Proposition Definition (The "What")
Once you've confirmed the problem is real and painful, you can begin to shape your solution. The goal here is clarity and focus: define exactly how your product will solve that problem better than any existing alternative.
- Craft a Unique Value Proposition (UVP): In a single, clear sentence, explain the primary benefit of your solution and what makes it different. Use a template like: "For [target customer] who [statement of need], our product is a [product category] that [key benefit]."
- Map the User Journey: Whiteboard the critical path a user takes from experiencing their problem to successfully solving it with your product. This visual map helps identify friction points and ensures a logical customer experience.
- Brainstorm and Prioritize Core Features: List the absolute minimum features required to deliver on your UVP. Be ruthless in cutting "nice-to-have" features. A framework like RICE (Reach, Impact, Confidence, Effort) can help you prioritize objectively and prevent scope creep.
- Perform Solution Verification Interviews: Re-engage 5-10 of your initial interviewees. This time, loosely describe your proposed solution ("Imagine a dashboard that automatically pulled in all your client feedback into one place...") and gauge their reaction. Does their energy level rise? Does this resonate as a real solution to their problem?
Phase 3: Low-Fidelity Design & Prototyping (The "How")
Now your idea takes visual form for the first time. The goal is maximum learning with minimum effort, using the cheapest and fastest methods possible to get feedback on the concept and user flow.
- Create Paper Prototypes or Napkin Sketches: Draw the main screens and interactions on paper. This method is fast, disposable, and encourages creativity without the constraints of digital tools. It allows you to test core concepts in minutes, not hours.
- Develop User Flow Diagrams: Map out the step-by-step paths users will take to complete key tasks (e.g., onboarding, creating a project, inviting a client). This ensures the logic is sound before you invest time in visual design.
- Design Wireframes: Create simple, black-and-white digital layouts using tools like Balsamiq or Whimsical. Wireframes are the architectural blueprint of your app, focusing on structure and functionality, not aesthetics. This prevents feedback from being distracted by colors or fonts. Even simple assets can be sourced from tools like an AI icon generator to speed things up.
- Build a Clickable Wireflow: Link your static wireframes together in a tool like Figma or InVision to create a basic, clickable simulation. This is a low-fidelity prototype that allows you to test the logic and usability of your core user journey.

Phase 4: Interactive Prototype & User Testing (The "Proof")
With a validated flow, you can now create a more realistic, but still non-functional, version of your product to test with real users. This is where you gather concrete evidence on your solution before committing to code.
- Build a High-Fidelity Prototype: Using a tool like Figma, create a visually polished, interactive mockup that looks and feels like a real product. This version should include UI elements, branding, and micro-interactions but still requires no backend development.
- Conduct Moderated Prototype Testing: Sit down with 5-8 target users. Give them a task to complete (e.g., "Show me how you would add a new client revision") and observe where they get stuck, confused, or delighted. Listen more than you talk.
- Run a Landing Page Test: Create a simple one-page website explaining your value proposition and including a call-to-action ("Join the Waitlist"). Dropbox famously validated its entire concept with a simple explainer video on a landing page, generating 75,000 sign-ups overnight. This tests demand before the product exists.
- Execute a "Smokescreen" Pre-Sale: For the most promising leads, offer a significant lifetime discount for paying for the product before it's built. Willingness to enter credit card information is one of the strongest validation signals you can get.
- Test a Concierge MVP: Manually deliver the service your product will automate for your first few customers. If you're building a meal-planning app, this means you manually create and email personalized plans. This validates demand for the outcome and teaches you the operational details needed to build the product.